SDK Setup
Android SDK Installation
This section will walk you through the steps to setup your RICOH THETA V development environment, including Android SDK installation, downloading Android Studio, and importing the Ricoh Plugin SDK and Updating the Android Build System.
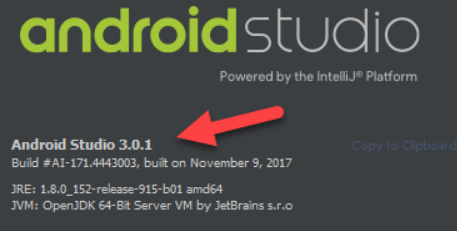
This community guide has been tested with the Android SDK 3.0.1 and 3.1.1 on Windows 10 (1709) 64bit, Ubuntu 17.10, and macOS High Sierra Version 10.13.4.
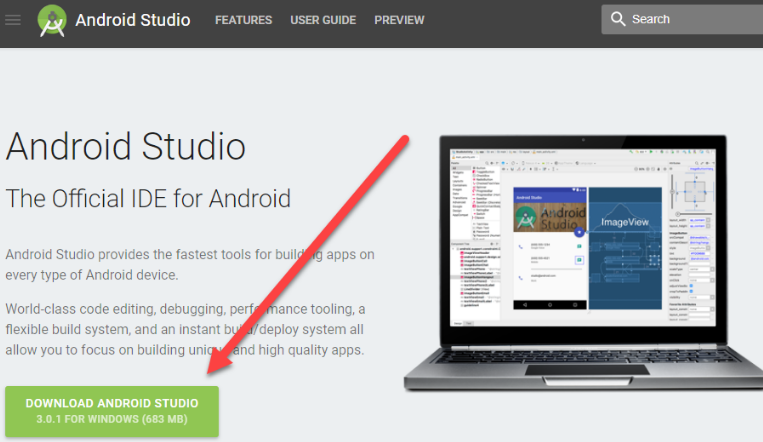
1 Download Android Studio
Download Android Studio here:
https://developer.android.com/studio/index.html
2 Import Ricoh Plugin SDK and Update Android Build System
Download the Ricoh Plugin SDK here:
https://github.com/ricohapi/theta-plugin-sdk
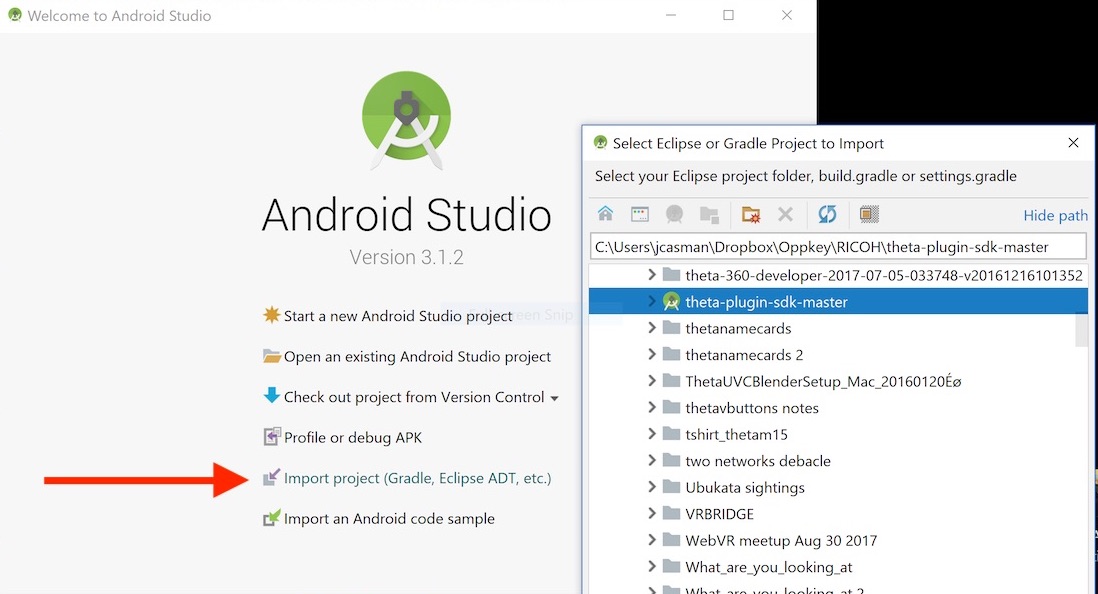
2.1 Import Project
If you've just installed Android Studio, you may choose Import project from the Welcome to Android Studio start up screen:
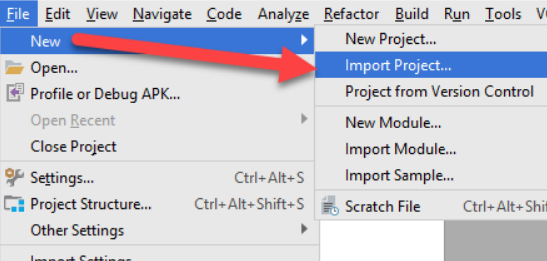
Otherwise, use the menus. Import Project from File -> New -> Import Project.
You will see the following status bar for a few minutes.

2.2 Security Updates
After the process completes, you will see a Windows Security Alert.
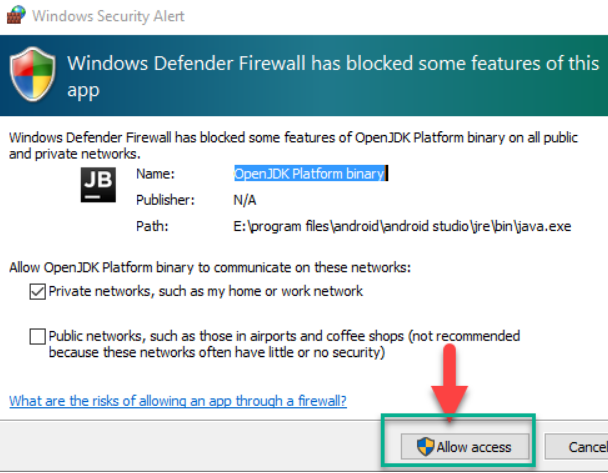
Allow access to the OpenJDK Platform.
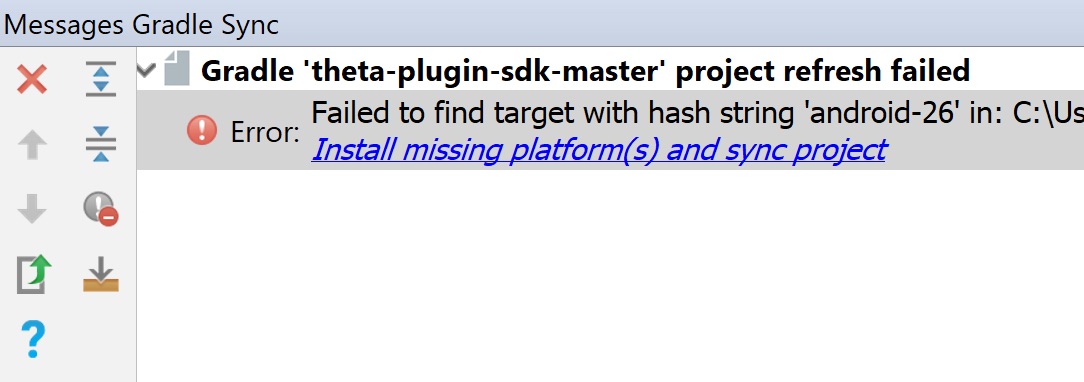
2.3 Update Build Tools
You may need to update your Build Tools or Install missing platforms and sync project.
Accept the license terms for 26.0.3 and press Next.
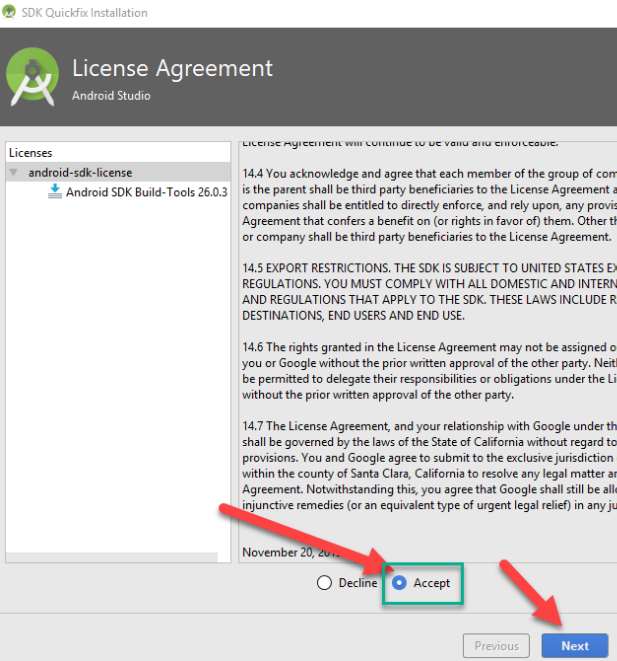
The components will be installed for you.

Allow Gradle enough time to resync your project.

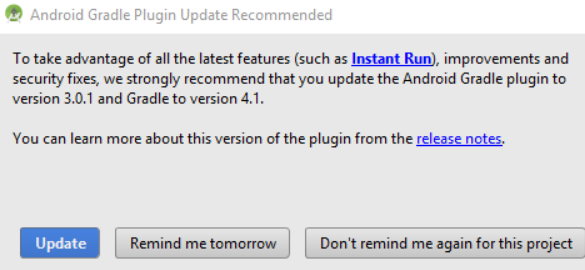
2.4 Update Gradle
Although not necessary, you can update Gradle here.
3 Build the APK
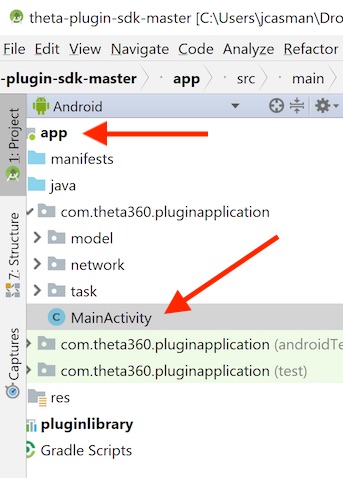
You can now inspect your Project in the navigation area.
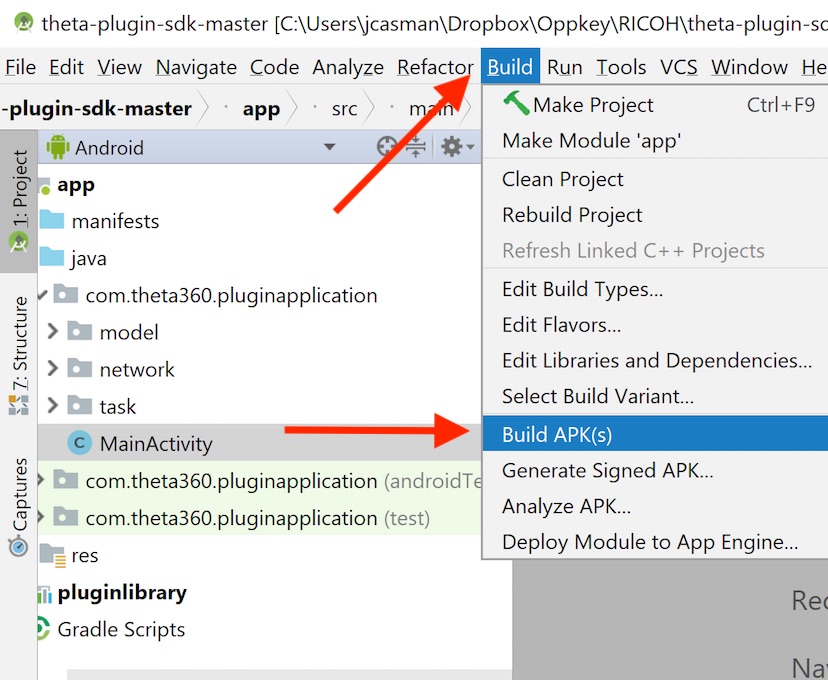
Build your APK.
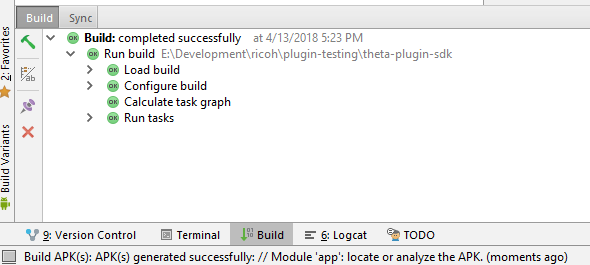
At the bottom of the Android Studio window, you will see the status of the build.
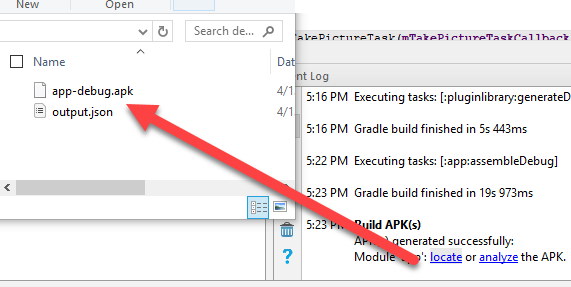
3.1 Locate the APK
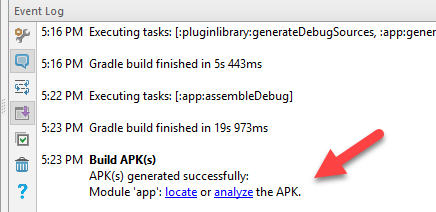
Click on the status bar to show your Event Log and locate the APK plugin-debug.apk. You'll need to know this information to install the APK into your RICOH THETA camera.
This concludes the SDK Setup section. Congratulations!