My First RICOH THETA Plug-in
I like to learn new programming libraries by starting off with the smallest possible code base and building from there. I like “Hello, World” and “blinky” examples. Super small code examples make it easier to understand key concepts.
Although the Ricoh Plug-in SDK provides a good starting point, the example uses TakePictureTask.java to connect to the Web API inside the camera.
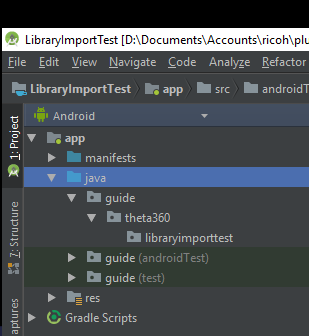
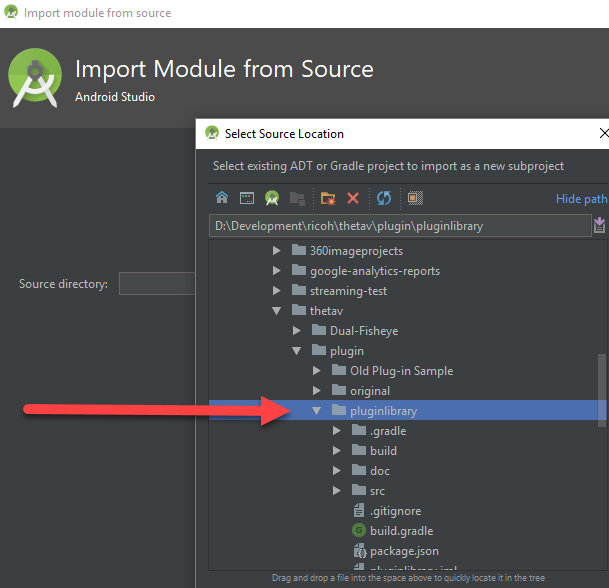
As I want to focus on the Camera API, I decided to ditch the SDK example and start fresh with a new Android Studio Project. To make it easier to control the camera, I imported the pluginlibrary as a module.
You can follow my example by using the pluginlibrary from the Ricoh SDK or by downloading my standalone GitHub repository for the library.
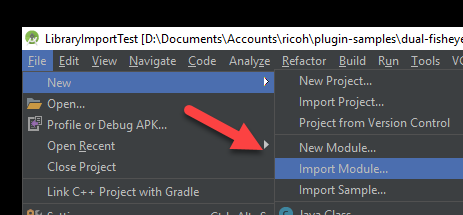
- Import “pluginlibrary” in the SDK by selecting “File”-“New”-“Import Module…”
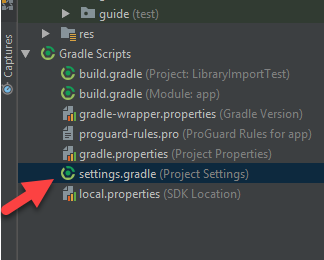
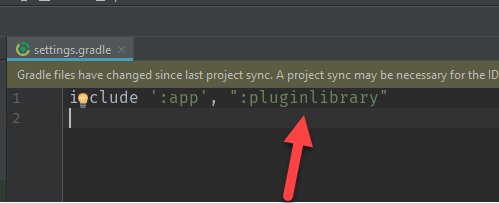
- Add “include ‘:app’, ‘:pluginlibrary’” in “settings.gradle” file
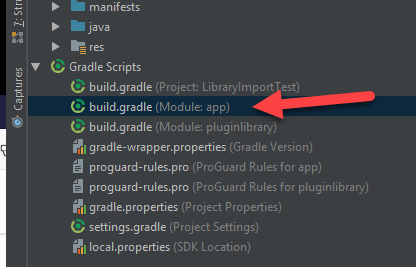
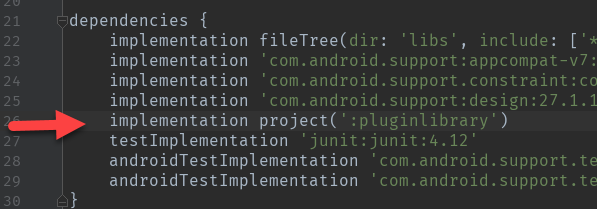
- You may need to add
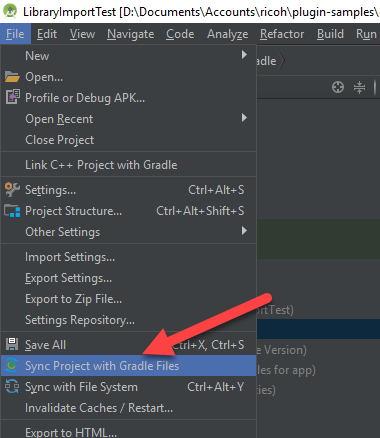
implementation project(':pluginlibrary')in build.gradle - Sync by selecting “File”-“Sync Project with Gradle Files”
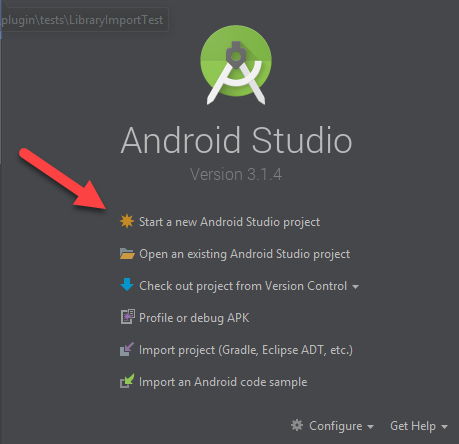
Start New Project
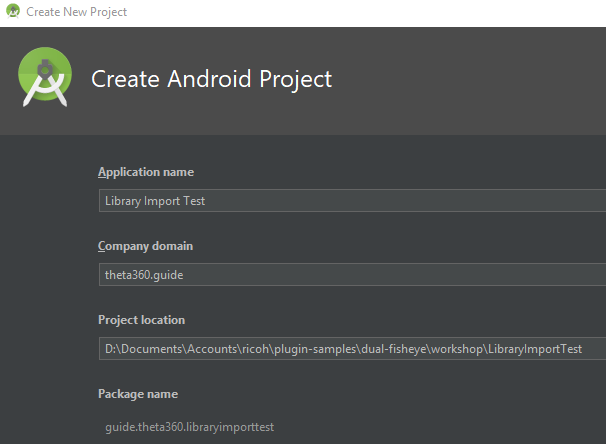
Select API 25

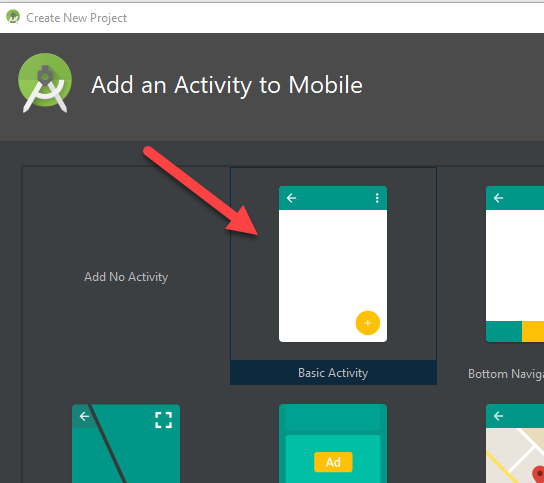
Basic Activity
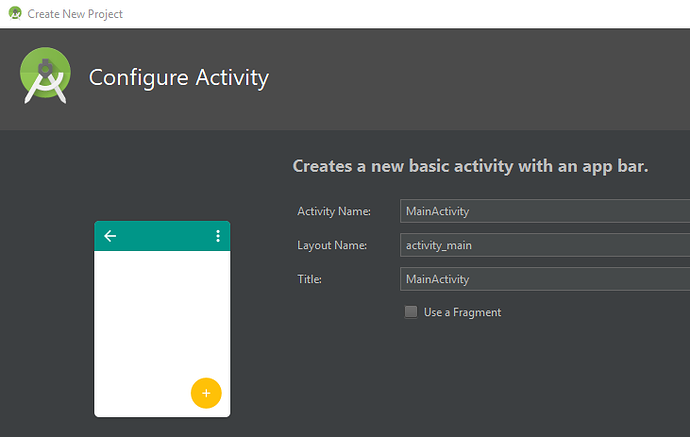
I’m using Basic Activity. You can use any template and work from there.
Import module
Edit Gradle Configuration Files
In build.gradle
In settings.gradle
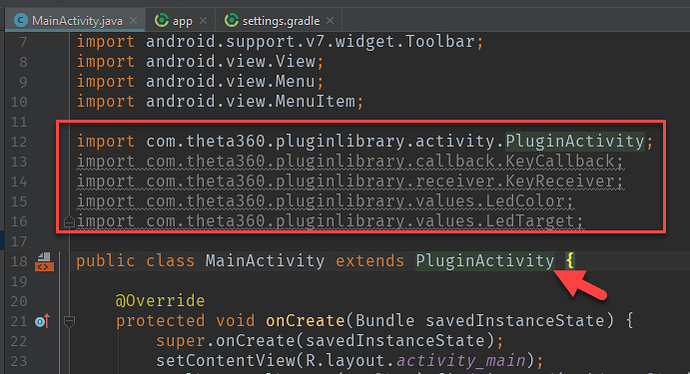
import pluginlibrary into MainActivity.java
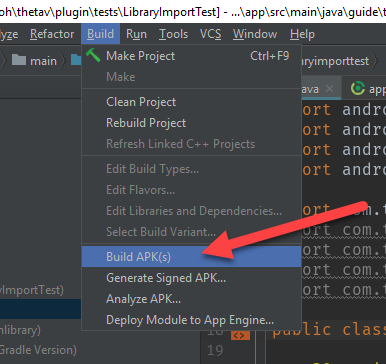
Build apk
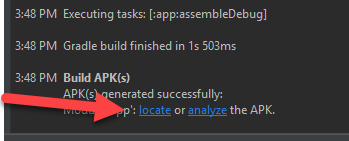
Success.

Test in Camera
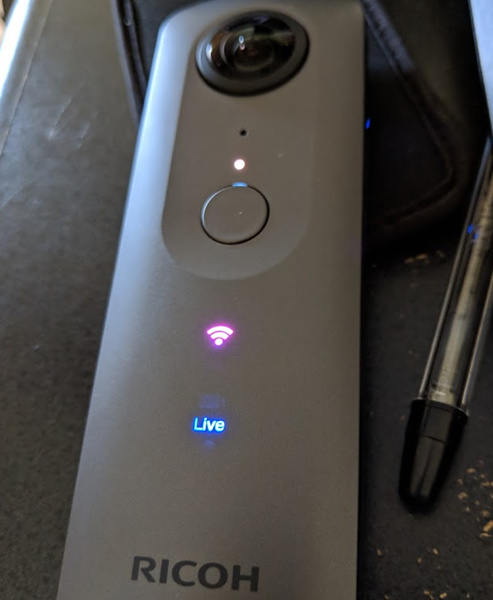
To verify that your application is controlling the camera, write a simple test will light up two LEDs on the camera when it is placed into plug-in mode.
Code Listing of Import Test
package guide.theta360.libraryimporttest;

import android.os.Bundle;
import android.view.KeyEvent;

import com.theta360.pluginlibrary.activity.PluginActivity;
import com.theta360.pluginlibrary.callback.KeyCallback;
import com.theta360.pluginlibrary.receiver.KeyReceiver;
import com.theta360.pluginlibrary.values.LedColor;
import com.theta360.pluginlibrary.values.LedTarget;

public class MainActivity extends PluginActivity {

    @Override
    protected void onCreate(Bundle savedInstanceState) {
        super.onCreate(savedInstanceState);
        setContentView(R.layout.activity_main);

        setKeyCallback(new KeyCallback() {
            @Override
            public void onKeyDown(int keyCode, KeyEvent event) {
                if (keyCode == KeyReceiver.KEYCODE_CAMERA) {
                    System.out.println("theta debug: pressed camera mode button down");
                }
            }

            @Override
            public void onKeyUp(int keyCode, KeyEvent event) {
                notificationLedShow(LedTarget.LED6);
                notificationLed3Show(LedColor.MAGENTA);
                System.out.println("theta debug: camera now in plug-in mode  :-)");
            }

            @Override
            public void onKeyLongPress(int keyCode, KeyEvent event) {

            }
        });
    }
}
Install apk into camera

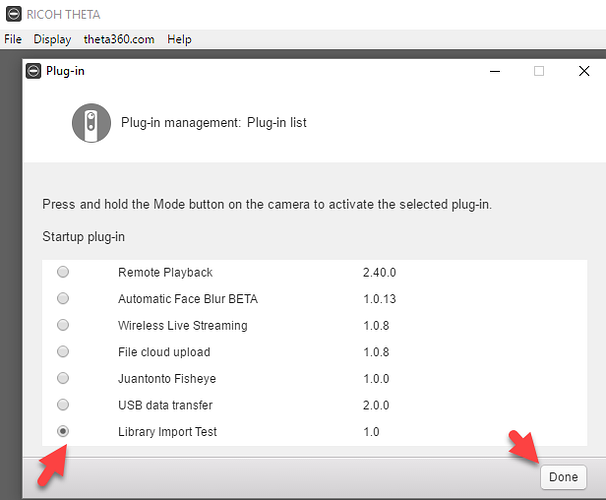
Set Library Import Test as Active Plug-in
Use the THETA Desktop application.
Test Plug-in On Camera
Reboot camera. Press mode button for two seconds.
Verify that app is lighting the correct LEDs with the correct color.
Possible Issues and Solutions
Package Name Changes
I’ve had a few cases where the package name changed.
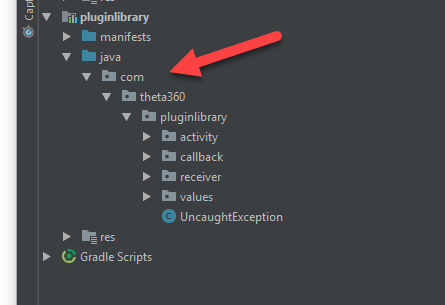
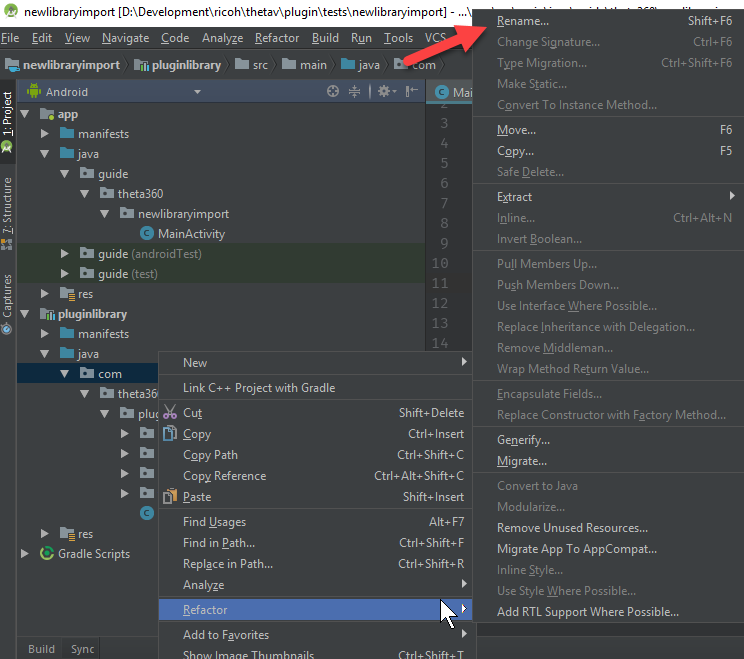
In some cases, I needed to refactor the directory.
Extra Resources
If you’ve registered with the Partner Program (putting your THETA in developer mode) and have sent in your serial number (allowing you to develop and upload plug-ins), I’ve got some super useful resources for you!
theta360.guide has pulled together a Top 10 THETA Developer Tips, pulling together feedback from developers, saving you time. We also have some choice apks that you can load immediately and try out with documentation and source code.
Work with speaker volume, record audio files, build a Web GUI for your THETA and lots more!
Send us your contact info and you’ll get an email will all the download links.